
Don’t be intimidated by any built-up grime, cleaning a microwave oven is a straightforward process. Here’s a step-by-step guide on how to clean a microwave oven:
What you’ll need
- Microwave-safe container
- Water
- White vinegar or lemon juice
- Dish soap or a mild cleaning solution
- Soft cloth or sponge
- Microwave-safe lid or plate
- Vanilla essence (optional)
Steps
1. Unplug the microwave
Before cleaning, make sure the microwave is unplugged or disconnected from the power source to ensure safety.
2. Remove loose debris
Use a damp cloth to remove any loose debris, such as food particles or crumbs, from the microwave.
3. Create a cleaning solution
In a microwave-safe container, mix equal parts water and white vinegar (or use lemon juice as an alternative).
You can also add a few drops of dish soap or a mild cleaning solution to the mixture.
4. Microwave cleaning solution
Place the bowl with the cleaning solution in the microwave.
Microwave the solution on high for 3-5 minutes or until it boils and creates steam. The steam will help loosen food residue and stains inside the microwave.
5. Let it sit
Keep the microwave closed for a few minutes to allow the steam to work its magic softening dried-on food.
6. Wipe down the interior
Carefully open the microwave and remove the bowl with the cleaning solution (use oven mitts, as it will be hot).
Using a soft cloth or sponge, wipe down the interior of the microwave. Pay extra attention to areas with stains or splatters.
For stubborn stains, you can dip the cloth or sponge in the cleaning solution to help remove them.
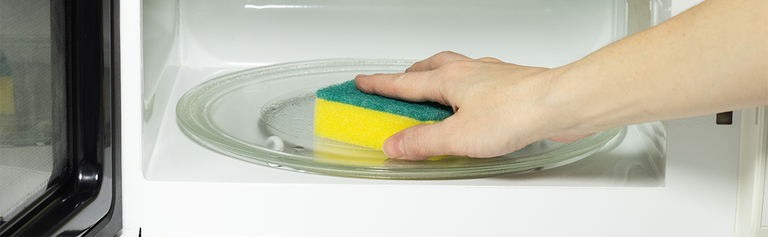
7. Clean the turntable and racks
Remove the turntable (glass dish) and any removable racks or shelves from the microwave.
Wash them in warm, soapy water, rinse, and dry thoroughly.
8. Clean the door
Wipe down the microwave door, including the frame and the inside of the glass with a damp cloth.
9. Exterior cleaning
Wipe down the exterior of the microwave, including the control panel and the handle. Use a separate, clean cloth and a mild cleaning solution or a mixture of water and vinegar.
10. Reassemble
Once everything is clean and dry, reassemble the microwave by putting the racks and turntable back inside.
11. Plug it in
Plug the microwave back in to the wall socket and turn it on.
12. Final touch (optional)
To give the microwave a fresh scent, place a microwave-safe dish with a lemon slice or a few drops of vanilla extract inside, and microwave for about a minute. This will leave a pleasant aroma in the microwave.
![]()
Looking to purchase a new microwave oven? Check out the best-rated microwave oven brands and the winner of Canstar Blue’s latest Most Satisfied Customers | Microwave Ovens Award, based on feedback from hundreds of everyday Kiwi consumers. Just click on the button below!
Canstar Blue's Most Satisfied Customers | Microwave Ovens Award

About the author of this page
This report was written by Canstar Content Producer, Caitlin Bingham. Caitlin is an experienced writer whose passion for creativity led her to study communication and journalism. She began her career freelancing as a content writer, before joining the Canstar team.
Enjoy reading this article?
You can like us on Facebook and get social, or sign up to receive more news like this straight to your inbox.
By subscribing you agree to the Canstar Privacy Policy
Share this article